Still Confuesd? How to start blog in- 2024? There is still time to start the blog. You know, millions of people already have.
This is a great way to share your interest, expertise or creative content with a world audience. Do not worry. It is easy to do your best for blogs.
In this blog, I tell you everything step by step. I will show you how to start a blog and How you can purchase hosting set WordPress and everything. I’ll let you know.
WHAT IS BLOG?
A blog is a website and online platform where people regularly publish their content, articles, images, videos and other content. This content is known as “BLOG POST“.
For blogging, you have to invest. Many businesses and individuals use blogs to share their experiences opinions, and promote Their products or services. Blogs serve as personal journals, education, and new marketing tools.
THERE IS NO NEED FOR TECHNICAL EXPERIENCE TO START YOUR BLOG
For starting a blogging, you need to learn how to code the website to start a blog. But having new skills is always an advantage.
Don’t worry.
Here, I will tell you all the blogging resources and tools for you if you are a beginner, and these tools are easy to use.
So, let’s start to learn How to start a blog today.
Can I make money with my blog?
Yes, you can make money with your blog. Many bloggers earn income through their blogs, Monetization methods, advertising, affiliate marketing, selling digital products and promotion. Bloggers earn with this.
Knowing how to build an audience by creating valuable content is essential. It takes time. Give your time to the blog. You can make money quickly.
How much does it cost to start a blog?
The cost to start a blog depends on you. Blog costs will be $35 to $100. And this costs for the first year. When you begin, the earning cost and expenses are reduced.
Does it sound good? Let’s start learning about blogging.
6 Steps to start a blog in 2024
Starting a blog takes several steps, from choosing your niche to publishing your first blog or post.
Here is a step-by-step guide to help you get started
- Choose perfect topic
- Choose blogging platform
- Register a domain name
- Set up web Hosting
- Install your blogging platform
- Customize it and Publish it.
Disclosure: This blog contains some affiliate links. By using our affiliate links to make a purchase, we may earn a small commission at no extra cost to you by using our link. The list below includes the best website builders I have used and tested.
Step 1- Choose perfect topic
A perfect blog topic has your passion and expertise.
- If you are an individual, Remember that your blog reflects you. It shows your interest and expertise. Pay attention to your passion and unique voice as an individual blogger.
This balance can help you create a successful and enjoyable blogging experience.
Here are some of the most popular blogs you can start with this topic
- FOOD BLOG
- TECH BLOG
- TRAVEL BLOG
- EDUCATION BLOG
- HEALTH AND FITNESS
- BEAUTY AND FASHION
- PET BLOG
- REVIEW BLOG
- GAMING BLOG
- FINANCE AND INVESTMENT
Don’t worry, and don’t overthink too much. Choose something you love to write about as you go.
2. If you are a business, you should create content supporting your business, objectives, and engagements. So you can promote them through your blog.
Step 2- Choose blogging platform
When we start a blog, we need a blogging platform. A blogging platform is like the foundation of your blog. It’s something like a kitchen in the restaurant.
Likewise, you need a good blogging platform to prepare your blog content.
You have many options when it comes to blogging platforms. Some are easy to use, while others are limited in customization options and require much money to upgrade.
WordPress is the most used blogging platform in the blogging world. The best part is that it is free to use, and you will have complete control over your blog.
That is how I created this blog that you are reading now. But can WordPress do it all? Let’s move on to the next step to clarify this.
Step 3- Get the best web hosting
Choosing the best web hosting provider depends on your specific needs. Different hosting companies offer various services, so it’s essential to consider your needs.
When you purchase the hosting, consider the hosting company. Reputation and customer support: remember that your choice of hosting can have significant importance on the performance and security of your website.
Here, I will tell you about Hostarmada. You know their reputation well, and their customer support is 24/7 and 365 days available.
Step 4- Set up your blog
HostArmada is an official WordPress-recommended hosting provider. Come with excellent feature and attentive web hosting plan and packages.
When you start with HostArmada, you get a free domain for your hosting after purchasing it. It will take at most 40-50 min to get everything set up and you can launch your blog.
Now, let us get started with your hosting setup.
- Click Here to Go HostArmada
- Click On Get Started Button
HostArmada is a popular hosting provider known for its compatibility with WordPress. Stay calm about setting up WordPress on your web hosting.
HostArmada offering all customers
- Free Domain name
- Free SSL certificate
- WordPress installation
- 24/7/365 Live chat support
- 30days Money Back Guarantee
First, select your hosting package according to your needs. You choose the basic plan because it come with the features you need to start your blog.

If you want to start more blogs, you can choose other plans. According to your requirements, you can upgrade your plan at any time.

Put your domain name on the left side of the box to get a free domain name through Hostarmada if you have a domain name on the left chest. Hostarmada Offers A Free Domain name for 1st year and Free SSL certificate. I think choosing a short domain name is easy to remember.
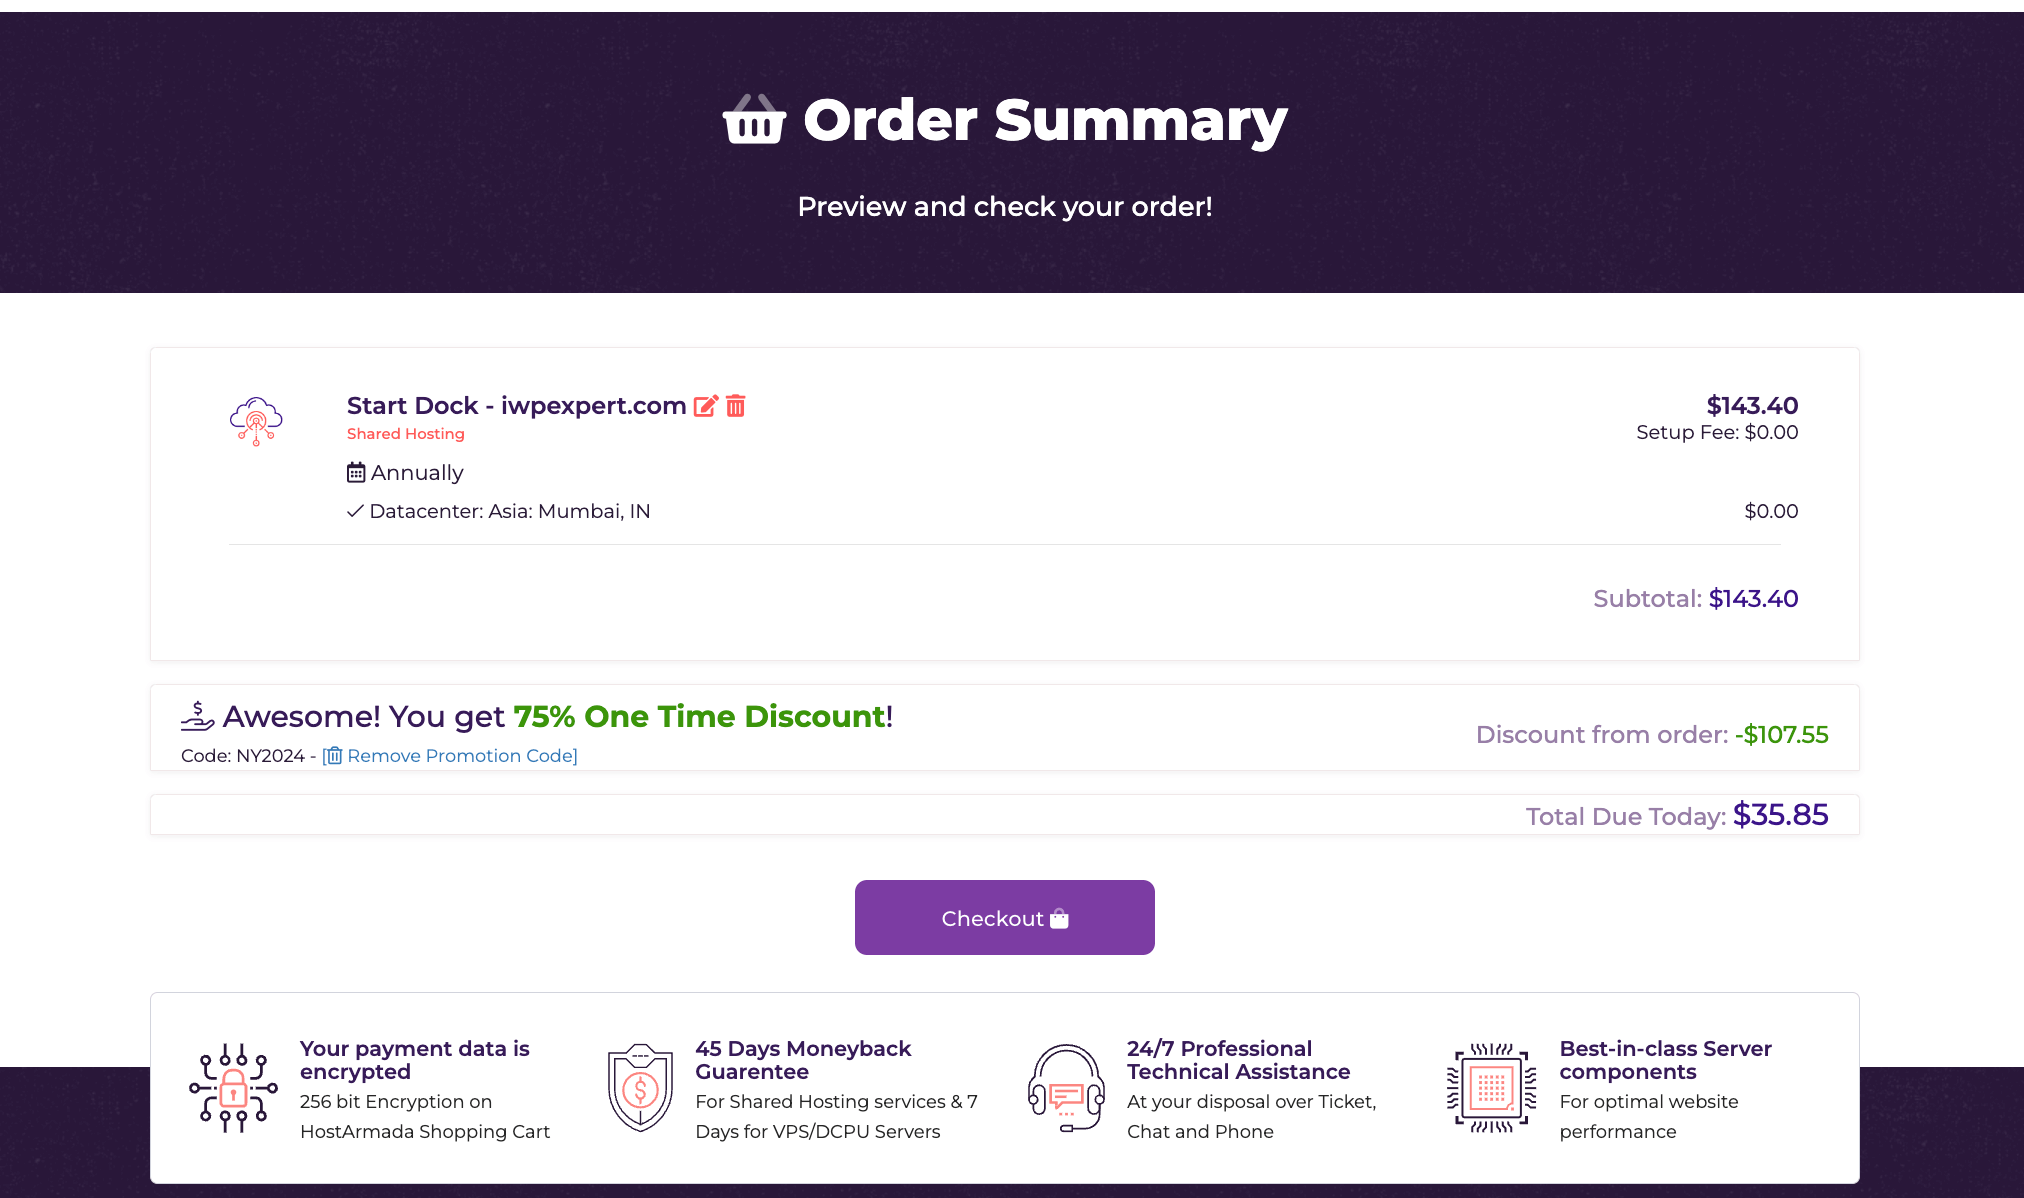
When you come down to price options, if you drop down the “server terms” option. you pay 12, 24 and 36 months. According to the budget you can choose the plan which is suitable for you. If you cancel your account within 30 days, HostArmada will refund your whole amount. So, it is a shallow risk.

If you don’t want any other additional features, you uncheck that box.
Finally, complete your hosting purchase. Enter your payment information, review Hostarmada policies and terms and submit details.
Wait for a few Min. For Confirmation of your Domain.
Make a password for your Hostarmada account. This is the password of your Hostarmada account, not your WordPress account. Your WordPress password is received via email.

Log in to your Hostarmada account. Use the password you formed in the overhead action. Or mark in with Google like you marked up earlier.
If you enter your ID password, you will go to the page given above. You have to create your PIN. If you want to do it later, you can also skip it.

After creating the pin, you will reach the screenshot given above. As you can see in the screenshot above, your domain name is visible, or here you can see five icons. Click on the 2nd icon, which will go to the c-panel.

This panel looks like this: In this search bar, you can search WordPress.

This type of page will open in front of you. Next, after some steps, you will install your WordPress.

Now, we will know our WordPress Backend and Put up Our Blog and design.
Design your blog.
After buying hosting and WordPress installation, immediately make these five essential settings.
So, let’s look at the WordPress dashboard and then the delicate settings. Below, I have attached an image of the WordPress dashboard, which is what your refreshed WordPress layout looks like. Now, we are going to do the best settings of WordPress.

Delete dupe posts, pages and comments. Please navigate to the bars and pages, select the one you want to delete, click “Move to Trash, ” and then apply. You can also like multiple pages and posts.
All you need to do is work with your page, posts and comment section. WordPress uploads dummy posts, pages, and comments by default.

Site title and tagline: Ensure your site title and slogan are correct. If not, you can edit them here. Your tagline should be a straightforward phrase that describes your site or task well. They are changeable at any moment!
Site address: When you put the site address, it starts with HTTPS:// or HTTP://: . If you need help, contact “Hostarmada SUPPORT“. They are available 24*7
Administration email: If you want to change your email. You can change them and ensure that your mail should be active if you change the email.
Membership: If you will not add any members to your blog. Just leave it unchecked.

Go to Settings > Permalinks and confirm that “Post title” is selected. That system is very legible for readers and well-suited for your blog.
Click “Save” if you’ve made any modifications there!
6. Customize it and Publish it.
Let us customize your blog layout. You can change your theme to any theme of your choice.
Go to Appearance > Themes > Add New to search and choose your favourite. Or, if you have bought a premium theme from somewhere, you can upload it there.

Personally, I love the Astra theme. This theme works on all devices.
Once you have activated this theme, go to Appearance>Theme> Customize your theme.

Now, We Learn about How to post our first Post. To Post your Post, Click On Add New under the post section. First, You see a text box, enter your Title, then a scope box where you can type your first Blog. If you want to start a new paragraph, just hit the ENTER button. You can use the new section.
If you add any image, click Plus Icon and use the image option. Once your article is ready, click on the publish button.
Make sure to check your grammar and slugs. You can create slugs as you want, but try to add your Title and keyword in the post slug.

It’s not comfortable to make those pages yourself. You can use a Privacy Policy generator website like Terms Feed to develop them for you to use on your blog.
Now you’re all set! Let’s launch your new blog!
Remove the Hostarmada reaching page soon. You must remove the coming soon page to ensure your blog is visible to others
Congratulations……!!!
You did all the setup and wrote your first blog. Now, you start your blogging journey.
IMPORTANT NOTES FOR YOUR PAGE
After installing WordPress, you should be careful about some things. In your first blog website, these pages are essential.
- About Us
- Blog
- Deals
- Disclaimer
- Contact us
Create these pages for your new blog.
NOTES:
You can contact Hostarmada via live chat or phone if there is any problem related to hosting, and they are available 24/7: chat support and telephone.
You can also use WordPress support to learn more about WordPress and WordPress themes and plugins. Now, it’s your turn to write your first blog.
Thanks for reading my blog.
HAPPY BLOGGING
